Down-loadable PDF crochet pattern found
here
Basic Materials needed for pattern:
*H and I hook
*Worsted weight yarn, I used Caron Simply Soft but I think a nice wool such as cascade 220 would work much better ( :
*Crochet skillz
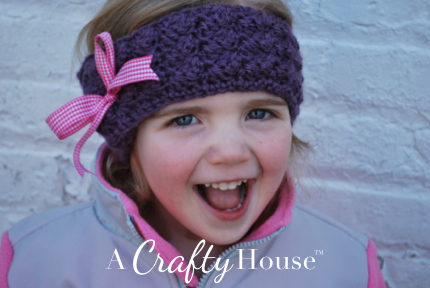
Pattern has directions for doing baby/toddler sizes 1-11
you like?....I like!.....we all like??!
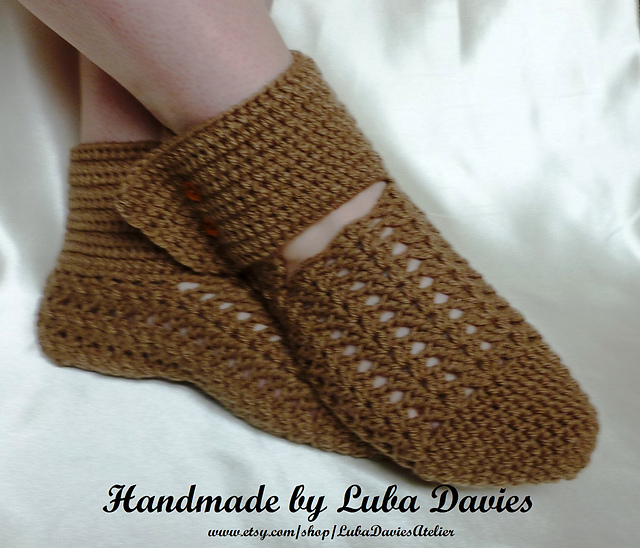
Just in case the download isn't working for you...
Materials:
*H hook and I hook
*2 colors DK weight yarn – MC and CC
*Stitch Marker
*Yarn needle
Gauge: (with I hook) 8 sc’s and 10 rows = 2 in. square
Notes: These socks are worked in
the round, so you will need to use a stitch marker to keep your place.
Make sure you keep track of your rows…important.
Pattern comes in sizes Baby/Toddler Shoe sizes 1-11 see baby pattern for sizes 1-5 and see toddler pattern for sizes 6-11
Baby
With H hook and CC, Ch. 4
Rnd 1 – 3sc in 2nd
chain from hook, sc in next , 3sc in last. Now we will be working on
the opposite side of our foundation ch. Sc in last. No join because we
are working in the round. (8)
Note: If you have undesirable holes in the middle of your round, don’t worry – you can sew them shut later
Rnd 2 – 2sc in next 3, sc in next, 2sc in next 3, sc in last. (14)
Rnd 3 – sc in next, 2sc in next 4, sc in next 3, 2sc in next 4, sc in last 2. (22)
Rnd 4 through Rnd 5 – sc even around. (22)
With I hook and MC
Work 7 even sc rows for shoe size 1 – 2 (approx. 3 – 4” foot)
Work 11 even sc rows for shoe sizes 3 – 5 (approx. 4 – 5” foot)
Next
Rnd – For Sizes 1-2 sc in next 19, for sizes 4 – 5 sc in next 20, (the
rest of the instructions are the same for both sizes) change to H hook
and CC, (remove stitch marker and continue on, we will have a new
beginning of row after we are done with the heel) sc in next (we will
call this stitch CC1), sc in next 9, sc in next (we will call this
stitch CC11). Ch 1 and turn (Do not count turning chain as a stitch)
Heel decrease row 1 – sc2tog, sc in next 7, sc2tog. Ch 1 and turn
Heel decrease row 2 – sc2tog, sc in next 5, sc2tog. Ch 1 and turn
Heel decrease row 3 – sc2tog, sc in next 3, sc2tog. Ch 1 and turn
Heel
decrease row 4 – sc2tog, sc in next, sc2tog…now we will start the
beginning of our increase row…sc down into the side of
decrease row 3. Ch 1 and turn
Note: For the next 5 increase rows we will be working down the sides of these decrease rows.
Heel increase row 1 – sc in next 4, sc into the side of row 3, sc into the side of dec row 2. Ch 1 and turn
Heal increase row 2 – sc in next 6, sc into the side of row 2, sc into the side of dec row 1. Ch 1 and turn
Heel increase row 3 – sc in next 8, sc into the side of dec row 1, sc into same st as CC1. Ch 1 and turn
Heel increase row 4 – sc in next 10, sc into same st as CC11.
Ankle Rnd 1 – Change to I hook and MC (this next stitch will be the new beginning stitch, so get that stitch marker back out
J) sc in each st around. (22)
Ankle
Rnd 2 –sc in next 3, 2sc in next, sc in next 3, 2sc in next, sc in next
3, hdc in next 3, hdc2tog, hdc in next, hdc2tog, hdc in last 3.
Ankle Rnd 3 – sc in next 6, 2sc in next, sc in next 6, hdc in next 2, hdc2tog, hdc in next hdc2tog, hdc in last 2. (21)
Ankle Rnd 4 – sc in next 14, hdc in last 7.
Ankle Rnd 5 – sc in next 14, hdc in last 7.
Ankle Rnd 6 – Change to CC and sc in each st around. Fasten off and weave in all ends.
Toddler
With H hook and CC, Ch. 6
Rnd 1 – 3sc in 2nd
chain from hook, sc in next 3, 3sc in last. Now we will be working on
the opposite side of our foundation ch. Sc in last 3. No join because we
are working in the round. (12)
Note: don’t worry about the holes in the middle of your round – you can sew them shut later
Rnd 2 – 2sc in next 3, sc in next 3, 2sc in next 3, sc in last 3. (18)
Rnd 3 – sc in next, 2sc in next 4, sc in next 5, 2sc in next 4, sc in last 4. (26)
Rnd 4 through Rnd 5 sc even around. (26)
With I hook and MC
Work 16 even sc rows for a shoe size 6-8
Work 20 even sc rows for a shoe size 9-11
Next
Rnd – For show sizes 6 – 8 sc in next 22, For shoe sizes 9 – 11 sc in
next 23, (The rest of the instructions from here are the same for both
sizes) Remove stitch marker and change to H hook and CC. sc in next (we
will call this stitch CC1), sc in next 11, sc in next (we will call this
stitch CC13). Ch 1 and turn (Do not count turning chain as a stitch)
Heel decrease row 1 – sc2tog, sc in next 9, sc2tog. Ch 1 and turn
Heel decrease row 2 – sc2tog, sc in next 7, sc2tog. Ch 1 and turn
Heel decrease row 3 – sc2tog, sc in next 5, sc2tog. Ch 1 and turn
Heel decrease row 4 – sc2tog, sc in next 3, sc2tog. Ch 1 and turn
Heel
decrease row 5 – sc2tog, sc in next, sc2tog…now we will start the
beginning of our increase row…sc down into the side of decrease row 4.
Ch 1 and turn
Note: For the next 5 increase rows we will work our increases down the sides of these decrease rows.
Heel increase row 1 – sc in next 4, sc into the side of row 4, sc into the side of decrease row 3. Ch 1 and turn
Heal increase row 2 – sc in next 6, sc into the side of row 3, sc into the side of decrease row 2. Ch 1 and turn
Heel increase row 3 – sc in next 8, sc into the side of decrease row 2, sc into the side of decrease row 1. Ch 1 and turn
Heel increase row 4 – sc in next 10, sc into the side of decrease row 1, sc into the same st as CC1. Ch 1 and turn
Heel increase row 5 – sc in next 12, sc into same st as CC13.
Ankle Rnd 1 – Change to I hook and MC (this next stitch will be the new beginning stitch, so get that stitch marker back out J) sc in each st around. (26)
Ankle
Rnd 2 –sc in next 4, 2sc in next, sc in next 3, 2sc in next, sc in next
4, hdc in next 4, hdc2tog, hdc in next, hdc2tog, hdc in last 4.
Ankle Rnd 3 – sc in next 7, 2sc in next, sc in next 7, hdc in next 3, hdc2tog, hdc in next hdc2tog, hdc in last 3.
Ankle Rnd 4 – sc in next 16, hdc in last 9.
Ankle Rnd 5 – sc in next 16, hdc in last 9.
Ankle Rnd 6 – Change to CC and sc in each st around.
Fasten off and weave in all ends.


 I haven’t played around with chunky yarn very much in my crochet experience but since having used it while making a free cowl pattern from Beatrice Ryan Designs, I’ve come to like the feel and how quickly a project works up.
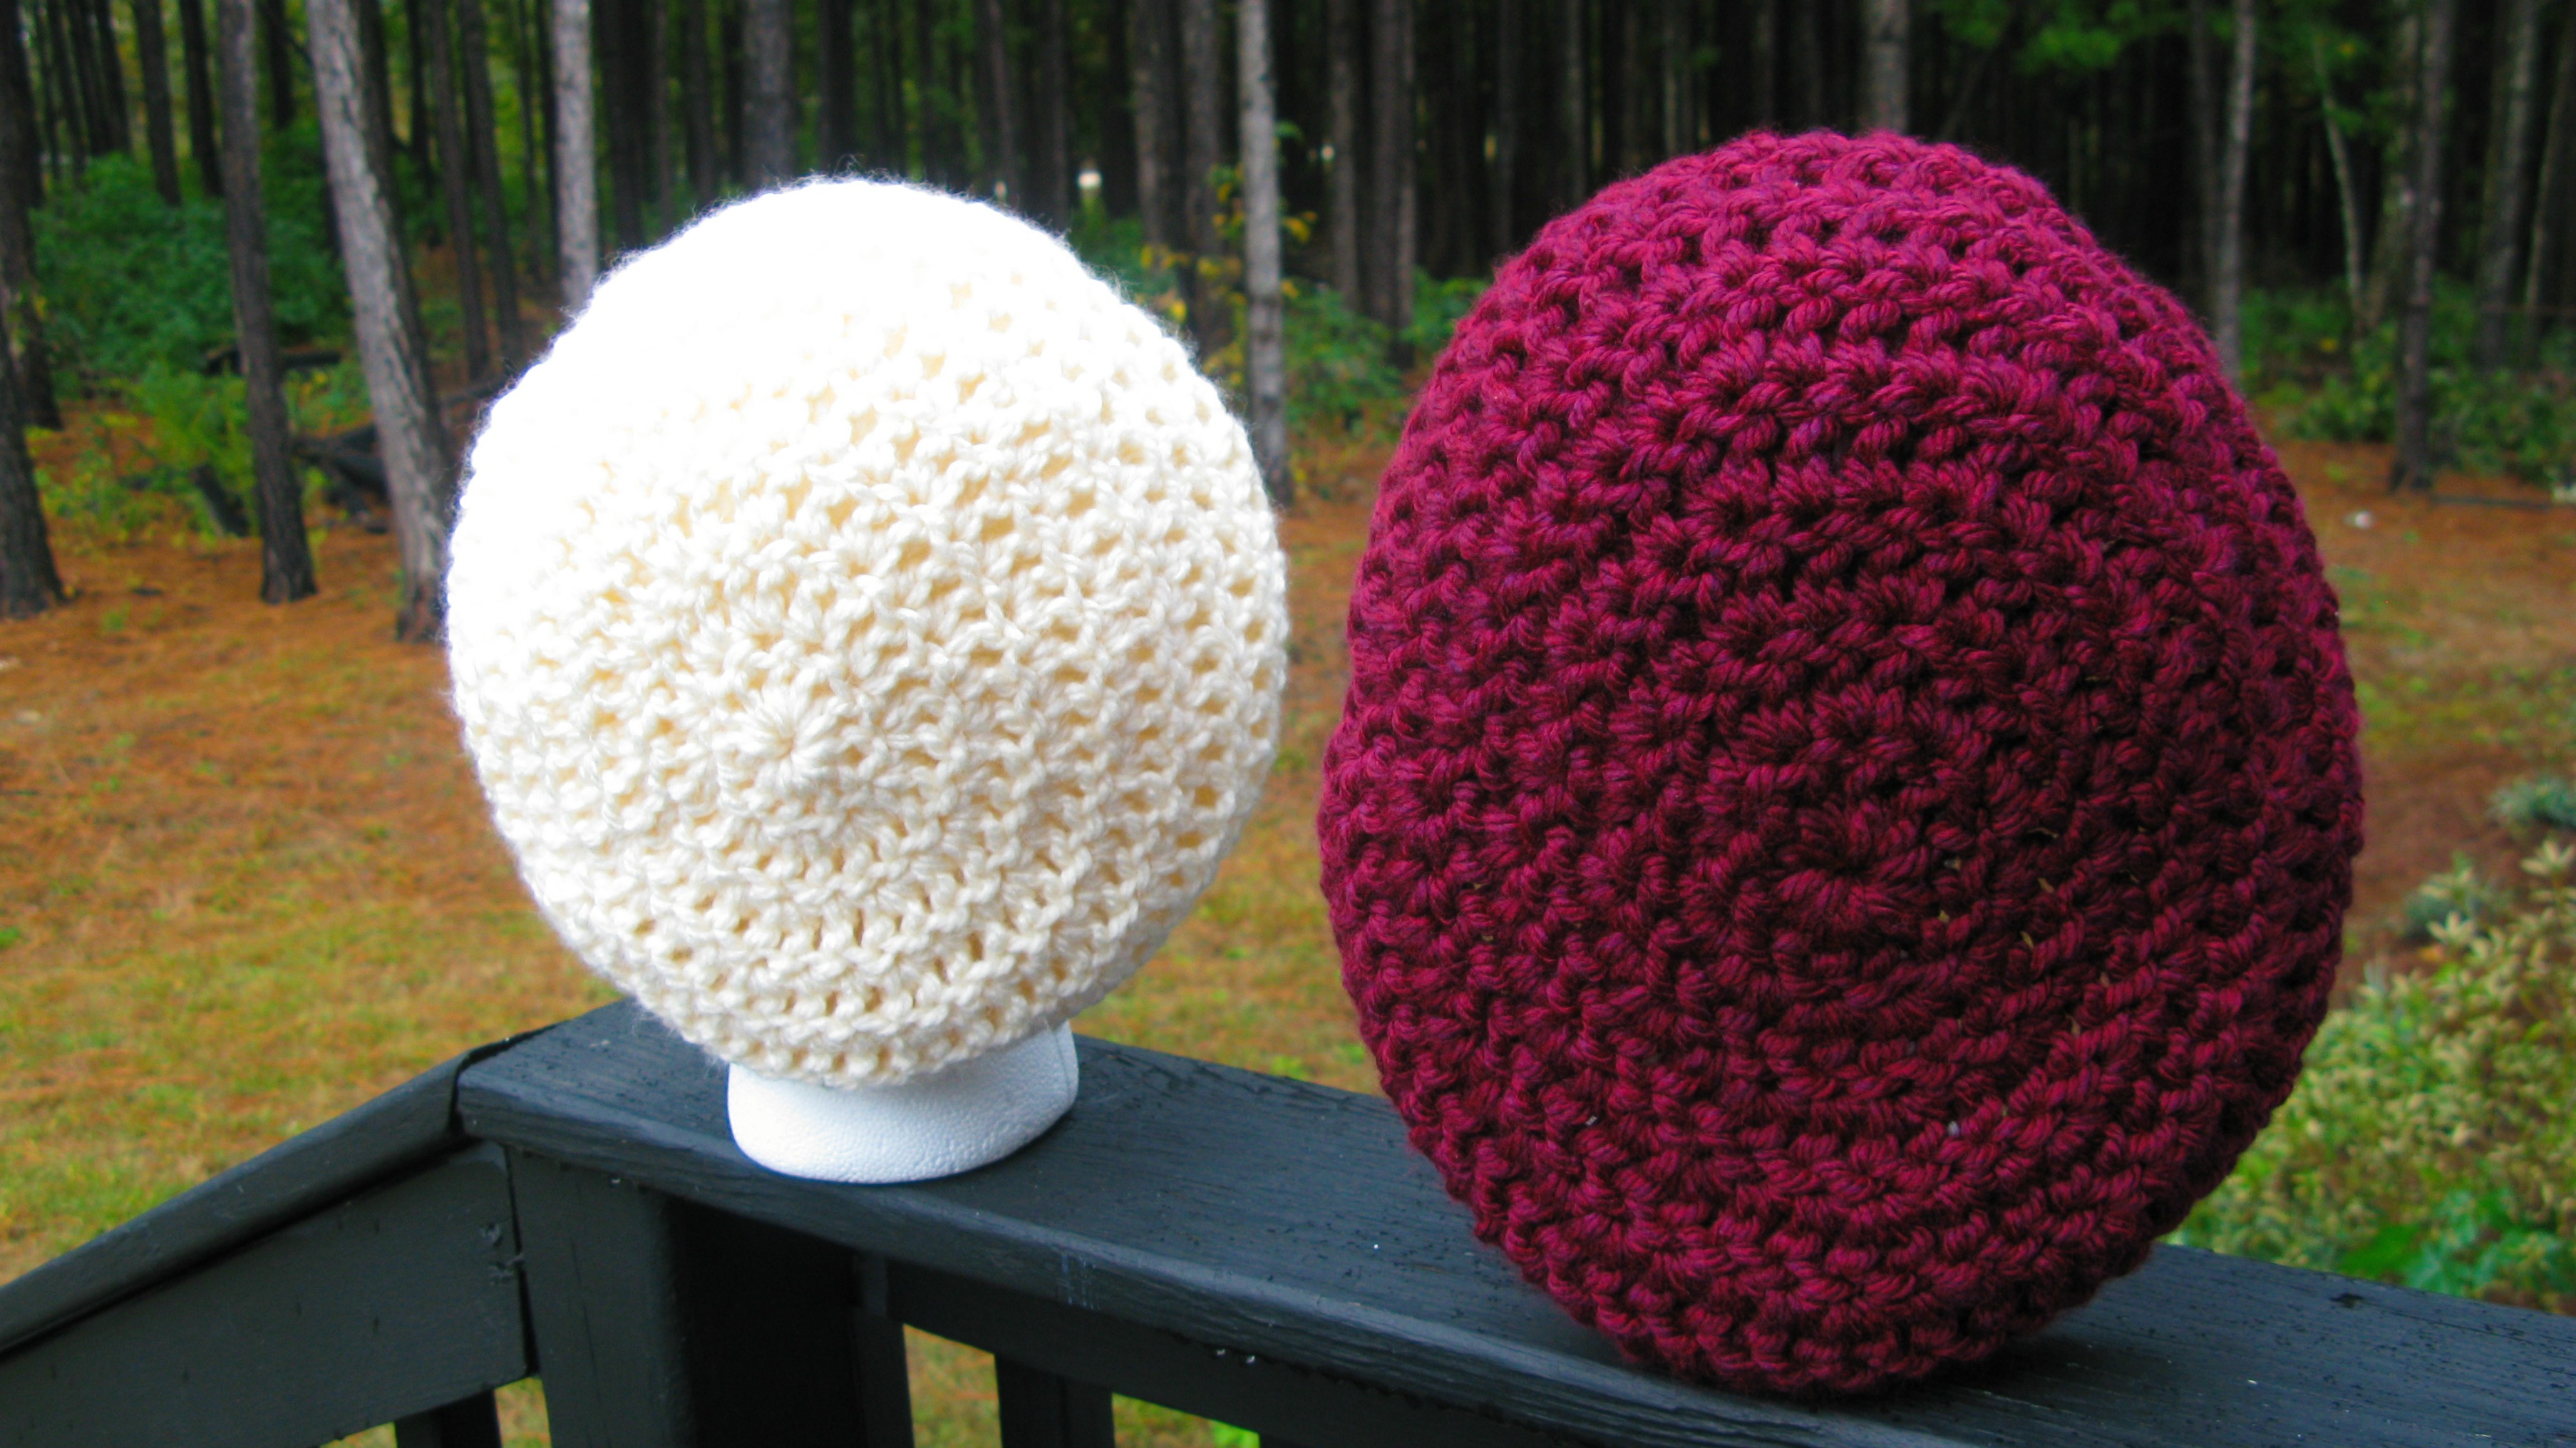 Now, on to the pattern. I made this hat to fit adult size – approximately 22″.